Advertisements
The Ultimate Shower Lighting Guide: What I Wish I Knew Before My First Bathroom Reno
Here’s a fun stat that blew my mind — we spend roughly 1.5 years of our lives in the bathroom. And yet, most of us are showering under the saddest, most depressing light fixtures imaginable! I learned this the hard way when I renovated my guest bathroom about six years ago and completely botched the shower lighting situation.
Getting your shower lighting right matters more than you’d think. It affects your mood in the morning, how well you can shave or see what you’re doing, and honestly, it can make a cheap bathroom look expensive. So let me walk you through everything I’ve picked up — mostly through trial and error.
Why Shower Lighting Deserves Its Own Game Plan
Most people just slap a basic recessed light above the shower and call it a day. I was one of those people. The result was a harsh spotlight effect that made me look like a ghost every morning and left the corners of the shower stall in total darkness.
Shower lighting is different from general bathroom lighting because you’re dealing with moisture, steam, and a confined space. You need fixtures that are rated for wet locations — not just damp locations, which is a mistake I see all the time. The National Electrical Code (NEC) is pretty specific about what goes where in a bathroom, and ignoring it isn’t just dumb, it’s dangerous.
Understanding IP Ratings and Wet-Rated Fixtures
Okay, this part sounds boring but stick with me. Every light fixture has an IP (Ingress Protection) rating that tells you how well it handles water and dust. For inside the shower, you want at least an IP65 rating.
When I did my first renovation, I installed a fixture rated for “damp” locations inside the shower enclosure. Within eight months, the thing corroded and started flickering like something out of a horror movie. Lesson learned — always look for “wet-rated” or “wet-location” on the packaging when you’re shopping for shower ceiling lights.
Quick Reference for IP Ratings
- IP44 — Splash-proof, okay for bathroom zones outside the shower
- IP65 — Water-jet resistant, suitable for inside the shower
- IP67 — Can handle temporary immersion, great for steam showers
Choosing the Right Color Temperature
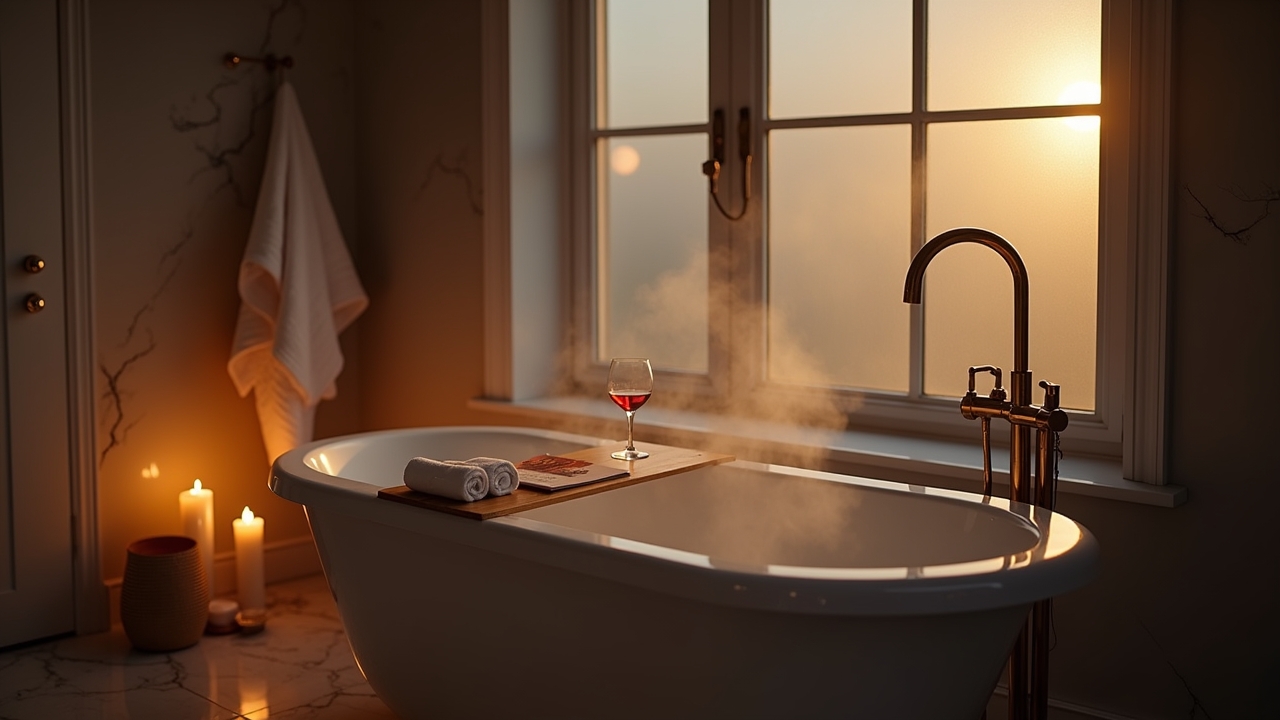
This is where things get fun. Color temperature is measured in Kelvins, and it basically determines whether your shower feels like a cozy spa or a hospital operating room. I personally love something around 3000K for the shower — it’s warm enough to be relaxing but bright enough to actually see what you’re doing.
Anything below 2700K gets too yellow and sleepy for my taste. And anything above 4000K? Way too clinical. Though honestly, some folks prefer that cooler light for their morning wake-up routine, so it’s really a personal thing.
Advertisements
Recessed Lighting vs. LED Panels vs. Niche Lights
Recessed downlights are the most popular choice for shower lighting, and for good reason — they’re clean, unobtrusive, and relatively easy to install. But they’re not the only option anymore.
LED panel lights have been a game-changer for shower ceilings, especially in smaller showers where a single recessed light creates weird shadows. I installed a slim LED panel in my master shower last year and honestly, the even light distribution was a total triumph. No more dark corners.
Then there’s niche lighting — little LED strips tucked into shower niches or recesses. These won’t be your primary light source, but man, they add a vibe. Think of them as accent lighting that makes your shampoo bottles look like they’re on display at a fancy hotel.
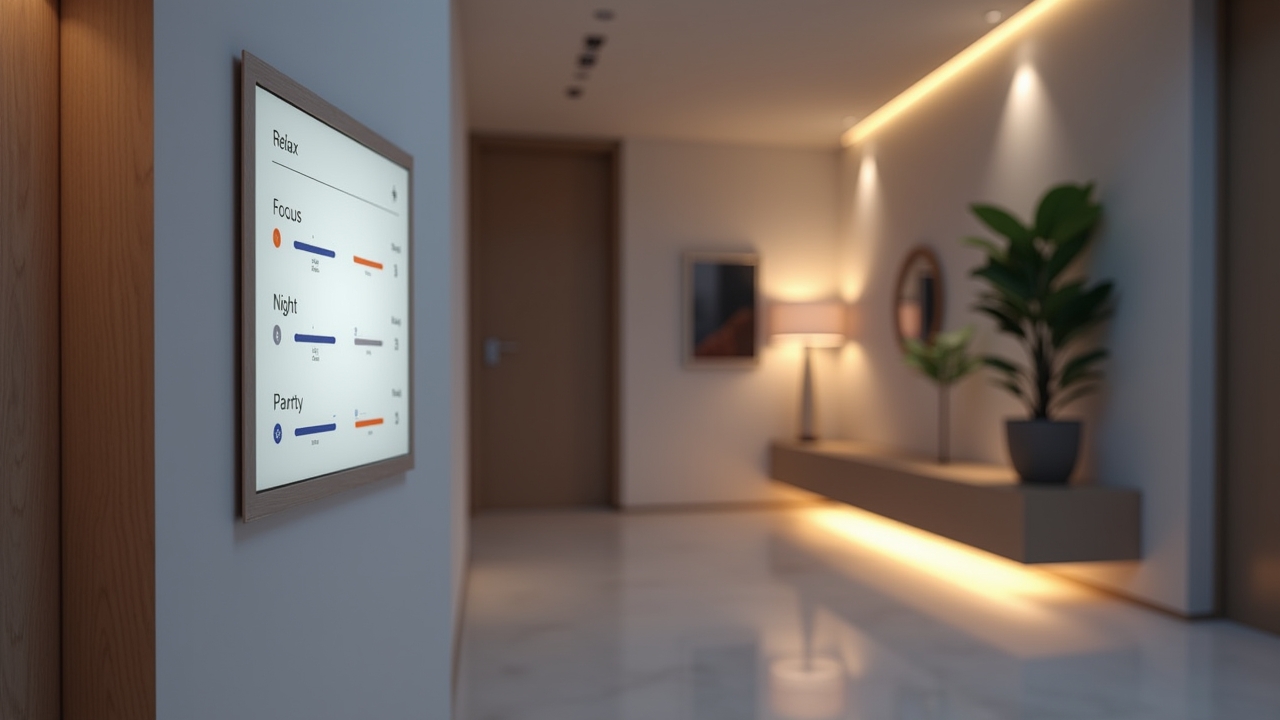
Don’t Forget the Dimmer Switch
If there’s one piece of advice I could shout from the rooftops, it’s this — install a dimmer. A bright shower light is great at 6 AM when you need to wake up, but terrible at 10 PM when you just want to decompress. Make sure your dimmer is compatible with your LED fixtures though, because mismatched dimmers cause that annoying buzzing and flickering.
Light It Right, Live It Right
At the end of the day, good shower lighting is about safety first and comfort second. Always hire a licensed electrician for wet-location installations — this is not a DIY YouTube project, trust me. Take the time to pick the right color temperature and fixture type for your space.
Every bathroom is different, so don’t be afraid to customize these tips to fit your situation. And if you’re hungry for more home electrical insights, head over to the Elemental Current blog — we’ve got plenty of guides to help you make smarter lighting decisions throughout your whole home!