Advertisements
The Ultimate Shower Filter Guide: What I Wish I Knew Before Wasting $200
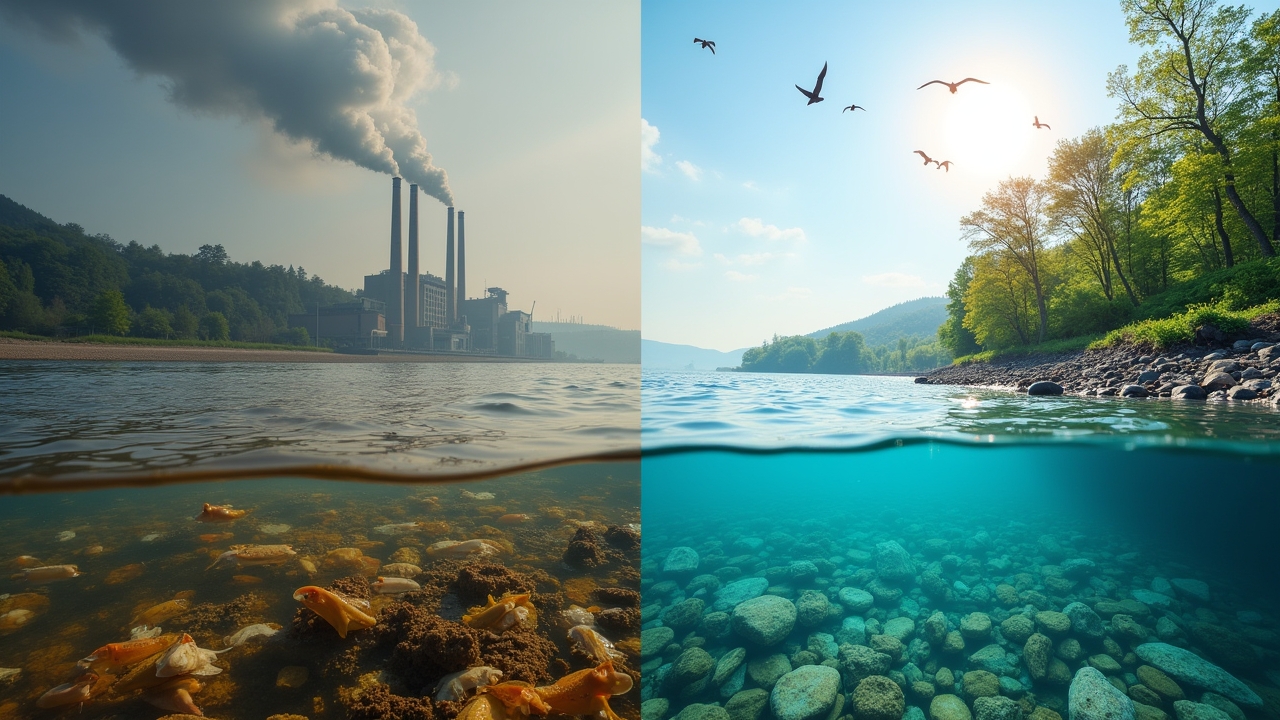
Here’s a stat that honestly blew my mind — the EPA reports that our tap water can contain over 90 different contaminants. And yeah, that water is blasting you in the face every single morning. I spent years ignoring my shower water quality until my skin started flaking like a cheap croissant, and that’s when I fell down the rabbit hole of shower filtration.
So let me save you some time, money, and frustration. This shower filter guide is everything I’ve learned after testing way too many filters and driving my wife absolutely crazy with bathroom experiments.
Why You Even Need a Shower Filter in the First Place
Look, I used to think shower filters were one of those unnecessary wellness gadgets — like tongue scrapers or copper water bottles. Boy, was I wrong. Chlorine and chloramines in municipal water don’t just smell bad; they can dry out your skin, irritate your eyes, and wreak havoc on color-treated hair.
Hard water minerals like calcium and magnesium build up over time too. My showerhead was basically clogged with white crusty deposits after just six months. If that’s happening to your fixtures, imagine what’s being deposited on your body and scalp every day.
The Main Types of Shower Filters (And Which Ones Actually Work)
This is where things got confusing for me at first, because there’s a bunch of different filtration methods out there. Let me break it down simply.
- KDF (Kinetic Degradation Fluxion) filters — These use a copper-zinc blend to remove chlorine, heavy metals, and bacteria. They’re probably the most common and they work pretty well in warm water.
- Activated carbon filters — Great for removing chlorine and organic compounds, but here’s the catch — they lose effectiveness in hot water. I learned this the hard way after buying one and wondering why my skin still felt terrible.
- Vitamin C filters — These neutralize chlorine and chloramines chemically. They’re actually super effective, but the cartridges need replacing more frequently, which can add up cost-wise.
- Multi-stage filters — A combination of the above methods. Honestly, these are what I’ve had the best luck with because they cover more bases.
The Water Quality Association is a great resource if you want to nerd out on certification standards. I’d recommend checking if any filter you’re considering has been independently tested.
What I Look for When Choosing a Shower Filter
After my second failed purchase — a cheap inline filter that literally fell apart in three weeks — I started paying attention to the details that actually matter. Here’s my personal checklist now.
First, filtration capacity. You want to know how many gallons a cartridge can handle before it needs replacing. Most decent ones last around 10,000 to 15,000 gallons, which works out to roughly six months for a typical household. Second, check what contaminants it actually removes — not all filters target the same stuff.
Advertisements
Third, and this one’s been overlooked by me more than once, water pressure. Some shower filters reduce your flow rate significantly, and nothing ruins a morning like a sad trickle of water when you’re already running late. Look for models that maintain at least 2.0 GPM (gallons per minute).
Installation: Easier Than You Think
I’m not handy. Like, at all. I once called a plumber to fix something that turned out to just be a loose valve handle. But installing a shower filter? Even I managed it in under ten minutes.
Most models just screw on between your shower arm and showerhead. You’ll usually need some Teflon tape to prevent leaks — it was included in the box for every filter I’ve bought. No tools required, which is honestly a relief for someone like me.
Common Mistakes to Avoid
Don’t forget to replace your cartridges on schedule. A used-up filter can actually make your water quality worse by releasing trapped contaminants back into the stream. Also, don’t assume the most expensive option is automatically the best — some mid-range filters outperform pricier models by a long shot.
And please, test your water first. You can grab an affordable home water testing kit to figure out what’s actually in your supply before picking a filter type.
Your Shower Deserves Better (And So Does Your Skin)
Switching to a filtered shower was honestly one of those small changes that made a surprisingly big difference in my daily life. My skin calmed down, my hair got softer, and that weird chlorine smell finally disappeared. Everyone’s water situation is different though, so take the time to figure out what contaminants you’re dealing with and choose accordingly.
If you found this shower filter guide helpful, stick around — we’ve got tons more practical wellness and home tips over on the Elemental Current blog. Go explore and find your next small upgrade!