Advertisements
Shower Gel DIY: How I Stopped Buying Overpriced Body Wash (And You Can Too)
Here’s a stat that honestly blew my mind — the average person spends over $200 a year on bath and shower products. Two hundred bucks! I remember staring at my shower caddy one morning, counting six half-empty bottles of fancy body wash, and thinking… I could literally make this stuff myself. And honestly? That’s exactly what I did.
Making your own shower gel at home is easier than you think. It’s cheaper, it’s better for your skin, and you get to control every single ingredient that touches your body. No more unpronounceable chemicals on the label!
Why I Started Making Homemade Shower Gel
So I’ve got sensitive skin. Like, ridiculously sensitive. I was buying those “gentle” and “dermatologist-tested” body washes from the store, and my skin was still drying out and getting itchy after every shower.
One evening I went down a rabbit hole on Reddit’s DIY Beauty community and discovered that a lot of commercial shower gels contain sulfates and synthetic fragrances that can seriously irritate your skin. That was my turning point. I figured if I could make a decent pasta sauce from scratch, I could probably handle a body wash.
The Basic DIY Shower Gel Recipe That Actually Works
After a few failed attempts — one batch turned out basically like water, another was weirdly gloopy — I landed on a recipe that I’ve been using for over a year now. Here’s what you need:
- 1/2 cup liquid castile soap (I love Dr. Bronner’s unscented)
- 1/4 cup raw honey
- 1/3 cup coconut milk
- 1 tablespoon vitamin E oil
- 1 tablespoon jojoba oil or sweet almond oil
- 10-15 drops of your favorite essential oils
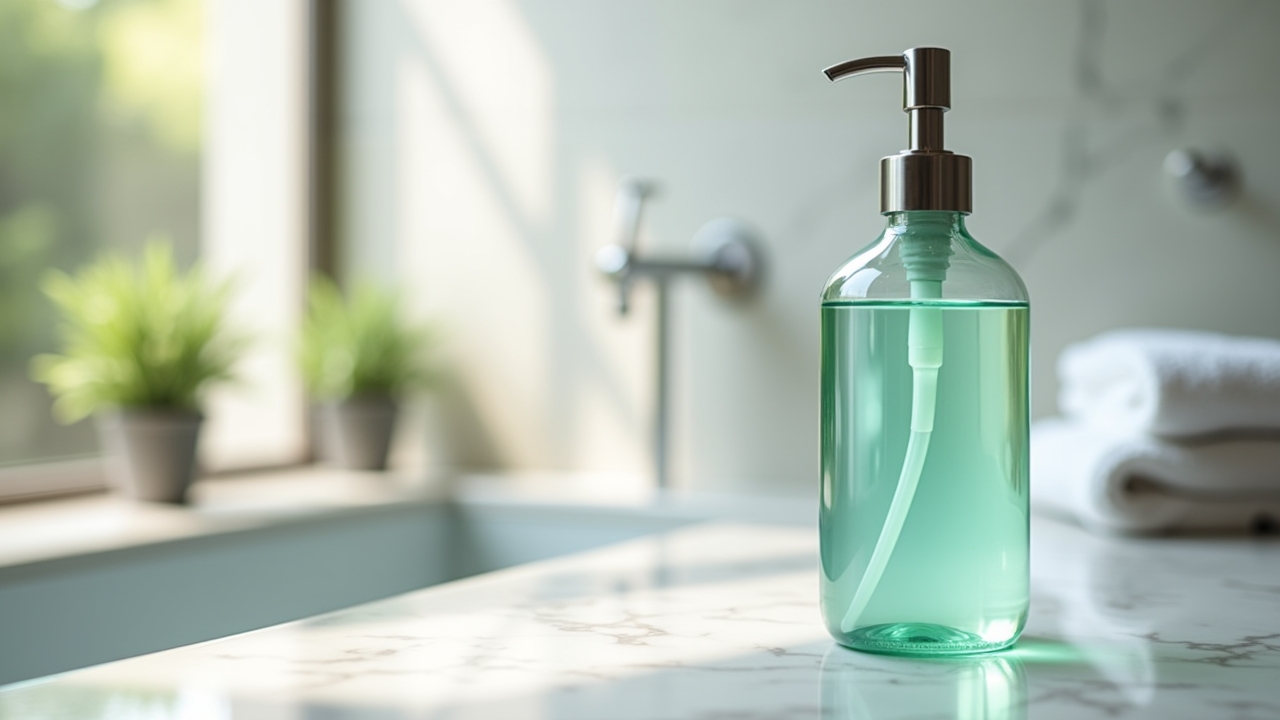
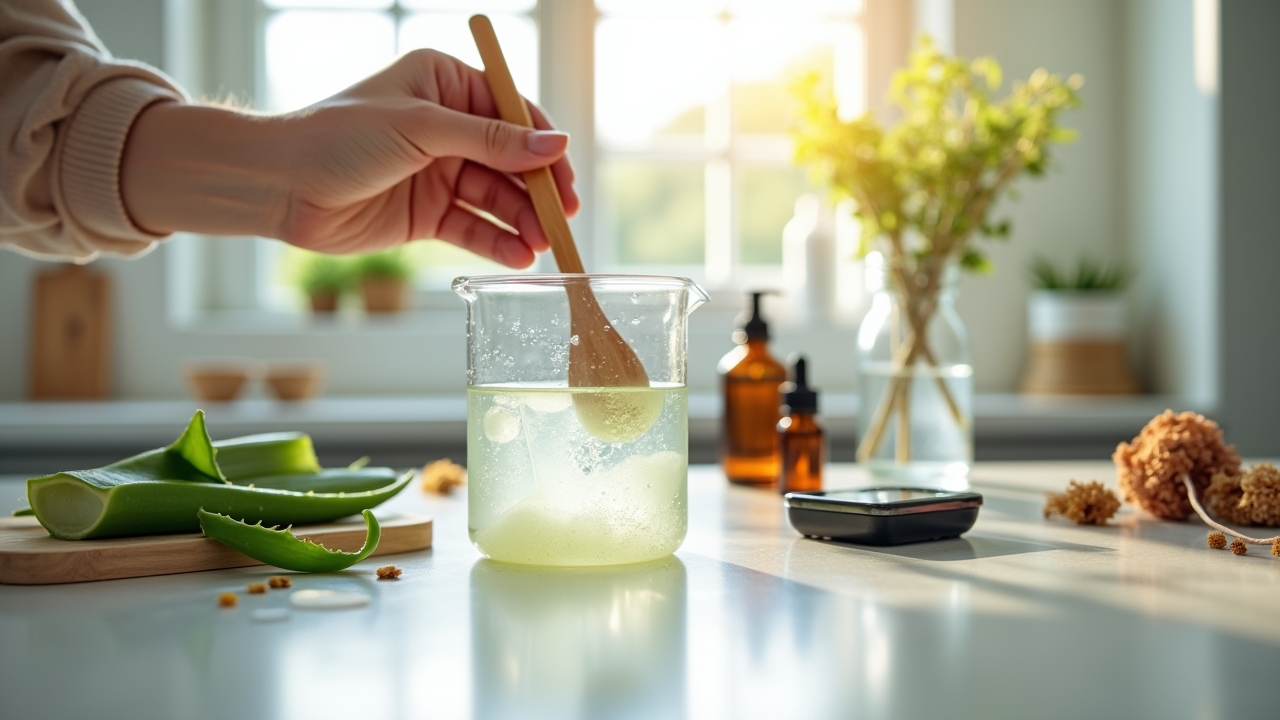
Just mix everything together gently in a bowl. Don’t whisk it like you’re making meringue — I made that mistake once and ended up with a foamy mess all over my kitchen counter. Pour it into a squeeze bottle or an old body wash container, and you’re done.
Seriously, the whole process takes about five minutes. That’s it.
Customizing Your Natural Body Wash
This is the part where it gets really fun. Once you’ve got the base recipe down, you can start experimenting with different essential oil blends and carrier oils to create something that’s completely yours.
Advertisements
For a relaxing evening shower, I’ll use lavender and chamomile essential oils. When I need a morning pick-me-up, peppermint and eucalyptus is where it’s at — trust me, that combo will wake you up faster than coffee. And during winter when my skin is extra dry, I swap the jojoba oil for argan oil because it’s an absolute game-changer for moisturizing.
You can also add a tablespoon of aloe vera gel if you want something extra soothing. A little bit of vegetable glycerin helps with the lather too, which was something I didn’t figure out until like my tenth batch.
Mistakes I’ve Made So You Don’t Have To
Oh boy, where do I start. My first batch of homemade shower gel separated after two days because I used regular milk instead of coconut milk. It smelled terrible. Like, I’m talking sour-milk-in-the-shower terrible.
Another time I went way overboard with tea tree essential oil — probably used 30 drops instead of 10. My skin was tingling for hours and not in a good way. Essential oils are potent stuff, so always check safe dilution ratios on resources like AromaWeb before going wild.
Also, homemade body wash doesn’t have preservatives, which means it won’t last forever. I keep mine in the fridge between uses and try to use each batch within two to three weeks. If it starts smelling off, toss it.
Your Shower, Your Rules
Making your own DIY shower gel is one of those small changes that genuinely makes a difference — for your skin, your wallet, and honestly, the environment too. But please, always do a patch test before slathering anything new all over your body. Everybody’s skin is different.
Start with the basic recipe, tweak it to your liking, and have fun with it. If you’re looking for more natural living tips and simple DIY ideas like this, head over to the Elemental Current blog — there’s plenty more where this came from!